DIY: Making a Gratitude Jar with Your Child
Are you looking for an activity to do with your kids while they’re out of school for the Thanksgiving holiday? Here’s one that not only offers arts-n-crafts time but also helps your little ones start to develop an attitude of gratitude! Another bonus? You can do this activity with supplies you probably already have at home. Any guesses? Here we go! Let’s make a gratitude jar!
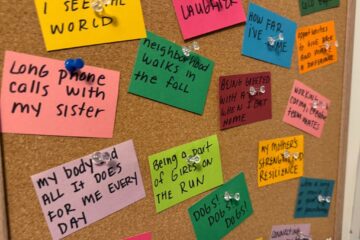
Gratitude jars provide a simple way to cultivate the habit of being mindful of the good things in your life. Each day or week, you write down one thing for which you’re grateful and put it into the jar where they collect as a reminder of the good things in your world. Studies show that a sense of gratitude can improve the emotional and physical health of adults and children alike. (For more about gratitude jars, see “Growing Gratitude.”)
Here’s how to make and use a gratitude jar with your child:
1. Start with an empty plastic jar. A peanut butter or mayonnaise jar work well, but you can also go with something larger if you have it. Plastic jars are your best bet because they won’t break if accidentally dropped.
2. Anything goes for decoration. Your child can use practically any craft item to decorate her jar. Torn tissue paper, yarn, glitter, construction paper… even buttons, bottle caps and photos. Some people color the paper they apply and some glue whole crayons all the way around the jar for color! You and your child can pick affirming words to cut from magazines and glue to the jar. You can even cover it with cut-out photos of your family. The more your child makes it her own, the better. Have fun! (Note: Always supervise if using hot glue or aerosol sprays.)
3. Don’t forget the lid. This is a great place for your child to label the jar or really stake claim to it by putting their own name on it. (e.g., Elaina’s Jar of Good Things!)
4. Make the slips. Cut out blank squares of paper on which to write things for which you are grateful. You can also use a small notebook for this if the pages will easily tear out and fold small enough to fit quite a few into the jar over the coming days.
5. Kick it off together. Start the gratitude process by each writing one thing for which you’re grateful and putting your slips in the jar. This lets you model the practice for your child and opens a way for you to help her understand what goes in the jar. From then on, as much as possible, let your child be the one to pick her own thing that she’s grateful for during your gratitude jar time.
6. Add a slip to the jar each day. With the jar ready to go, pick a regular time to write the gratitude slips—maybe at dinner or bedtime. As you add a slip each day, soon the jar will fill with reminders of good things in your child’s life. If your child has a bad day, have her read some of the slips and then help her find something to add to the jar.
You can put an extra holiday twist on this practice by keeping it going daily from Thanksgiving through New Year’s. Then on New Year’s Day, sit down with your child and go through the gratitude jar together, literally counting the blessings and resolving how to appreciate and celebrate them in the coming year.
Love what you read? Sign up to receive our emails! Get tips, advice, inspiration
and remarkable stories of women and girls fueling their limitless potential.


